How to Froth Milk Without an Espresso Machine: 4 Methods That Actually Work
As an Amazon Associate I earn from qualifying purchases. Prices and availability are accurate as of the date/time indicated and are subject to change.
How we picked: This guide compares options using published
specifications, verified owner-review patterns and reputable expert testing.
We label clearly what is hands-on vs research-based, and never present others'
testing as our own.
📑 Table of contents
- Method 1: The French press (best texture without a wand)
- Method 2: The jar shake (zero extra gear)
- Method 3: The handheld electric frother (cheapest real upgrade)
- Method 4: The whisk or electric mixer (for when you’re improvising)
- The part that matters more than the method: your milk
- Putting it together: from foam to cup
A steam wand is the fastest way to make silky microfoam — but it’s far from the only way. If you don’t own an espresso machine (or yours has no wand), you can still make a genuinely good latte or cappuccino at home using tools most kitchens already have. The secret isn’t fancy equipment; it’s understanding that frothing is just two things happening at once: you’re whipping air into the milk and warming it so the foam stays stable. Nail those two and any of the four methods below gives you café-worthy foam.
Below, each method with what it’s best at, so you can pick based on the gear in your cupboard.
Method 1: The French press (best texture without a wand)
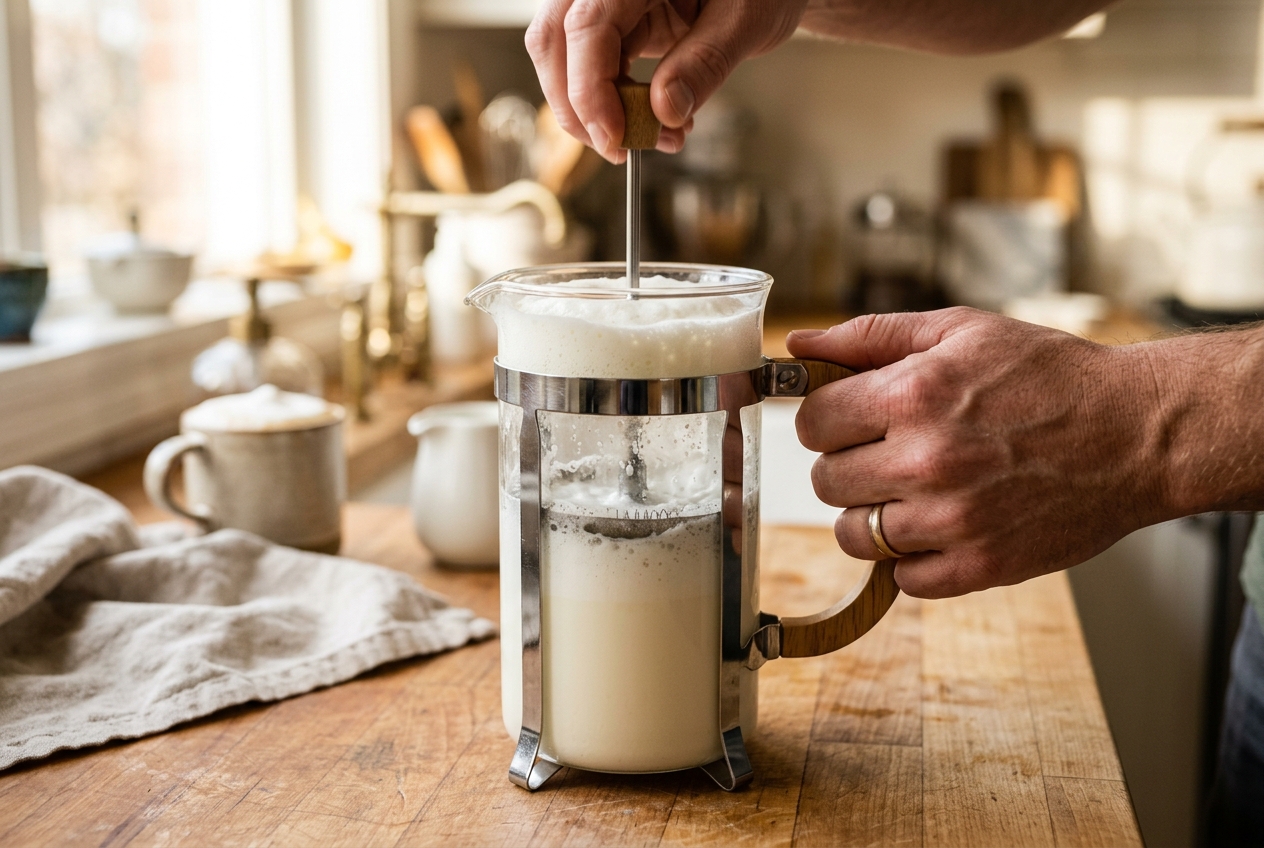
If you own a French press, you own the best manual frother there is. Warm your milk first — 30–40 seconds in the microwave, or gently on the stove until it’s steaming but not boiling. Pour the warm milk into the empty, clean press (fill no more than a third; milk expands as it foams). Then pump the plunger up and down briskly for 20–30 seconds. The mesh screen forces air through the milk and builds a dense, glossy foam that’s surprisingly close to steam-wand microfoam.
The trick is warm milk first, plunge second — plunging cold milk gives you big, soapy bubbles that collapse fast. Give the jug a gentle tap on the counter and a little swirl afterward to knock out the biggest bubbles and tighten the texture.
Method 2: The jar shake (zero extra gear)
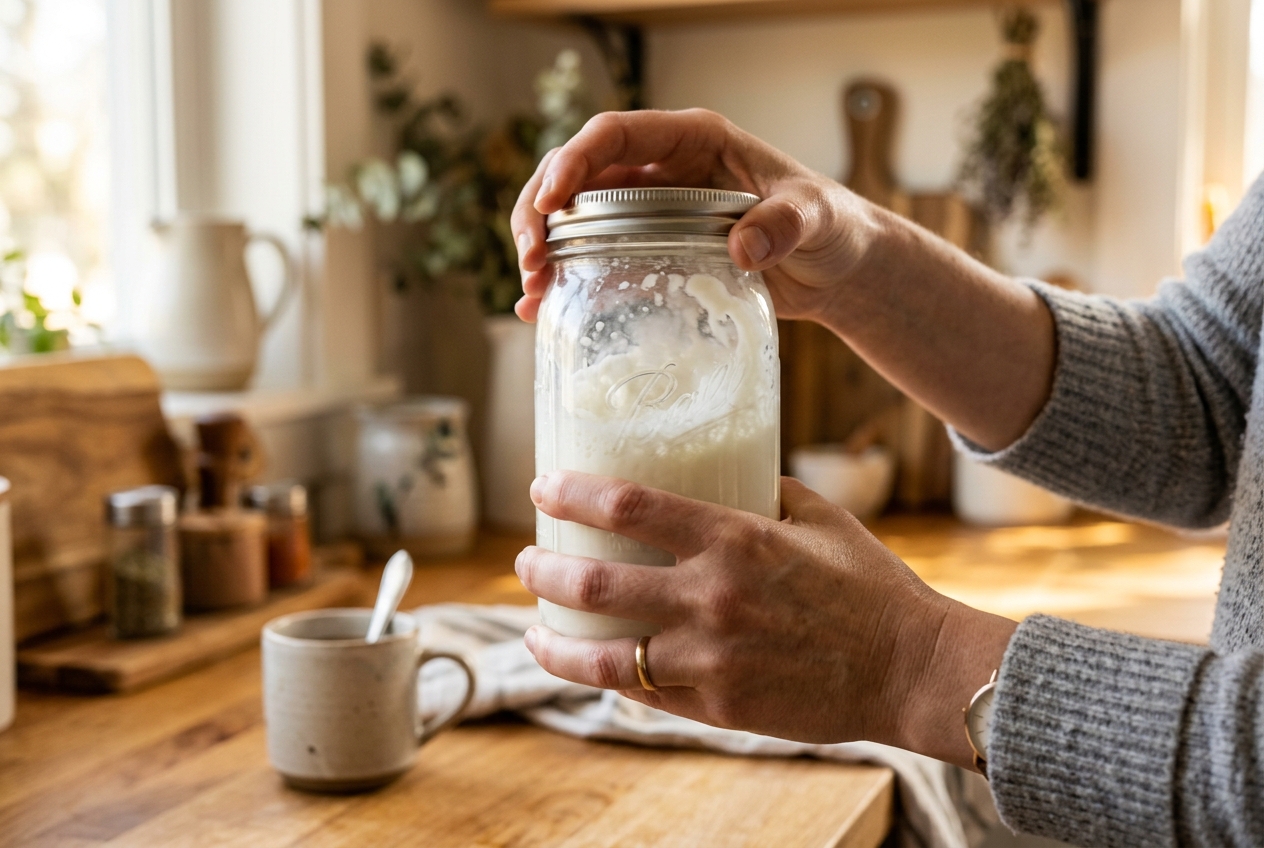
No press, no gadgets? A jar with a tight lid does the job. Fill a mason jar no more than halfway with cold milk, screw the lid on tight, and shake hard for 30–60 seconds until the milk roughly doubles in volume and looks foamy. Then take the lid off and microwave the jar (lid removed!) for about 30 seconds — the heat sets the foam so it clings to your coffee instead of vanishing.
It’s the loudest, most low-tech method, but it genuinely works and costs nothing. It’s ideal for travel, dorms, or anyone testing whether they even like frothed milk before buying a tool.
Method 3: The handheld electric frother (cheapest real upgrade)
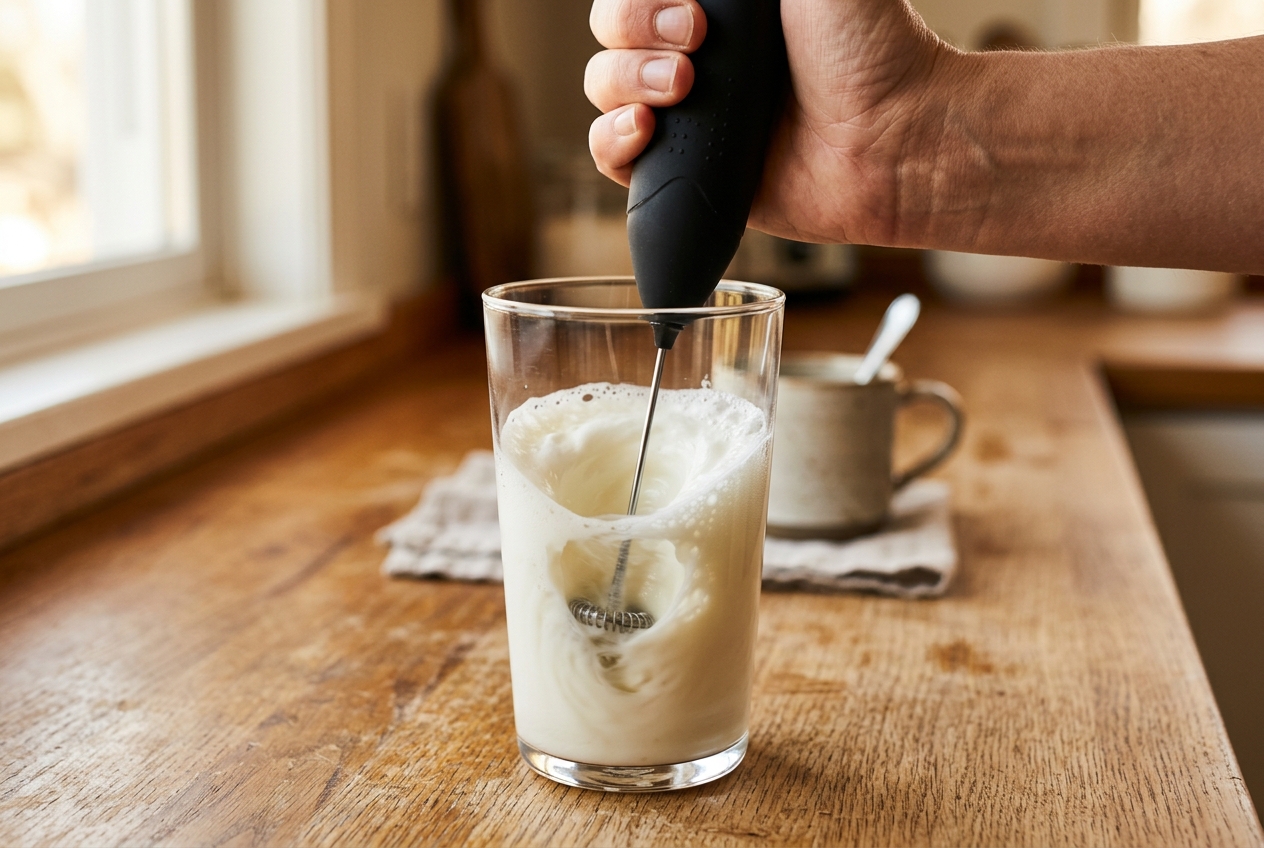
A battery-powered handheld frother — the little wand with a coiled whisk head — is the best few-dollars-you’ll-ever-spend coffee tool. Warm your milk, submerge the whisk just below the surface, and turn it on for 15–20 seconds, tilting the cup and moving the whisk up and down to pull air in. Keep the whisk near the top for airier cappuccino foam; sink it deeper for the thinner, silkier milk a latte wants.
These frothers are tiny, rinse clean in seconds, and produce far finer foam than shaking. If you drink milk coffee daily and don’t want an espresso machine, this is the tool to buy first. It pairs beautifully with any brewer — even a compact all-in-one setup if you later decide to add real espresso.
Method 4: The whisk or electric mixer (for when you’re improvising)
A plain balloon whisk works too — warm the milk, then whisk hard in a tight circular motion for a minute or so. It’s tiring and the foam is coarser, but in a pinch it beats flat milk. An electric hand mixer or immersion blender speeds this up dramatically: a few seconds on low with the beaters just under the surface will foam milk fast (watch for splatter). This is the “use what’s in the drawer” method — not elegant, but reliable.
The part that matters more than the method: your milk
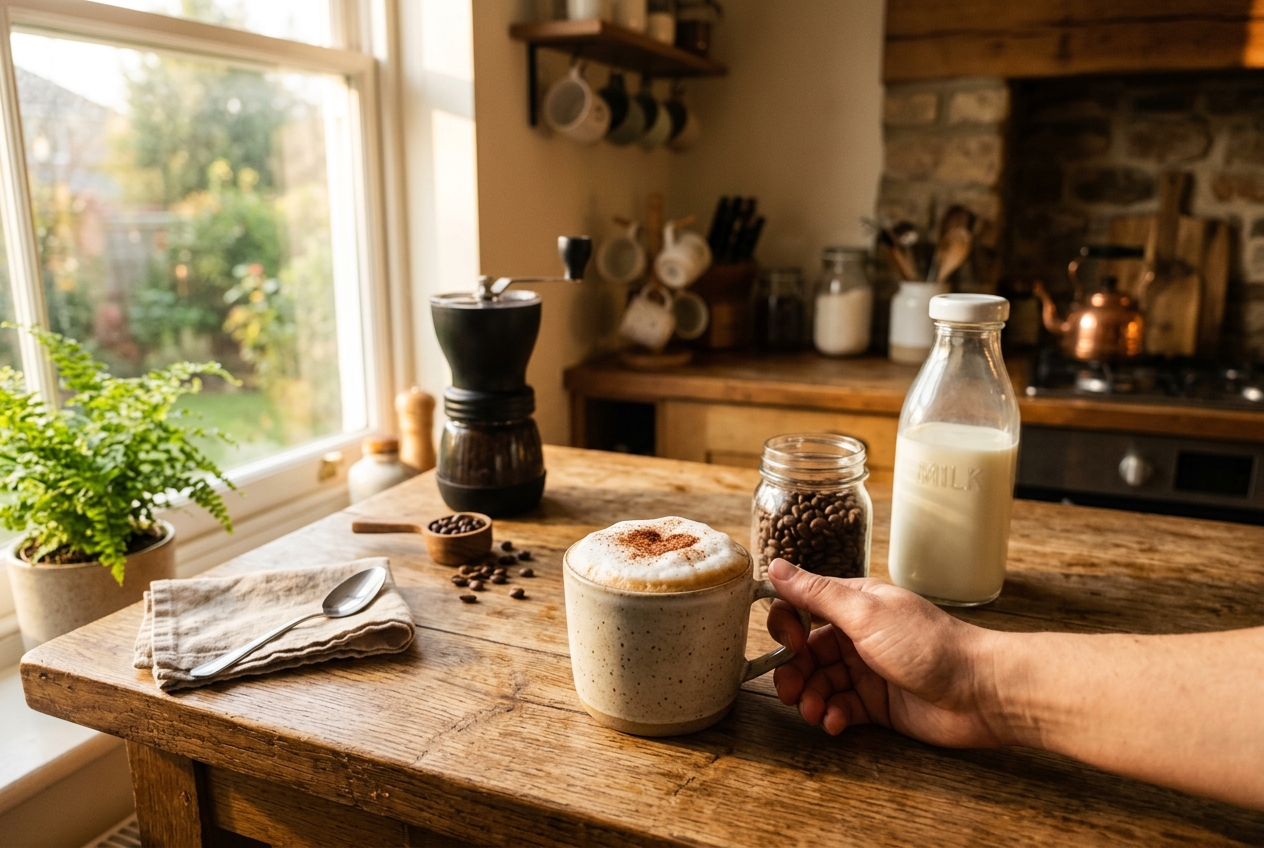
No technique fixes the wrong milk. Cold, fresh whole milk froths best — the fat gives foam body and a creamy mouthfeel, and cold milk holds air longer before it warms. Low-fat and skim milk froth into more foam but it’s dry and stiff, collapsing quickly. Among plant milks, barista-edition oat milk is the standout: it’s formulated with extra protein and fat to foam almost like dairy. Regular oat, almond, and soy vary a lot brand to brand, so expect to experiment.
Temperature is the other lever. Aim for milk that’s hot to the touch but not scalding — around 140–150°F (60–65°C). Overheat it past 160°F and the proteins break down, the foam goes thin, and you get a faintly cooked, less-sweet flavor.
Putting it together: from foam to cup
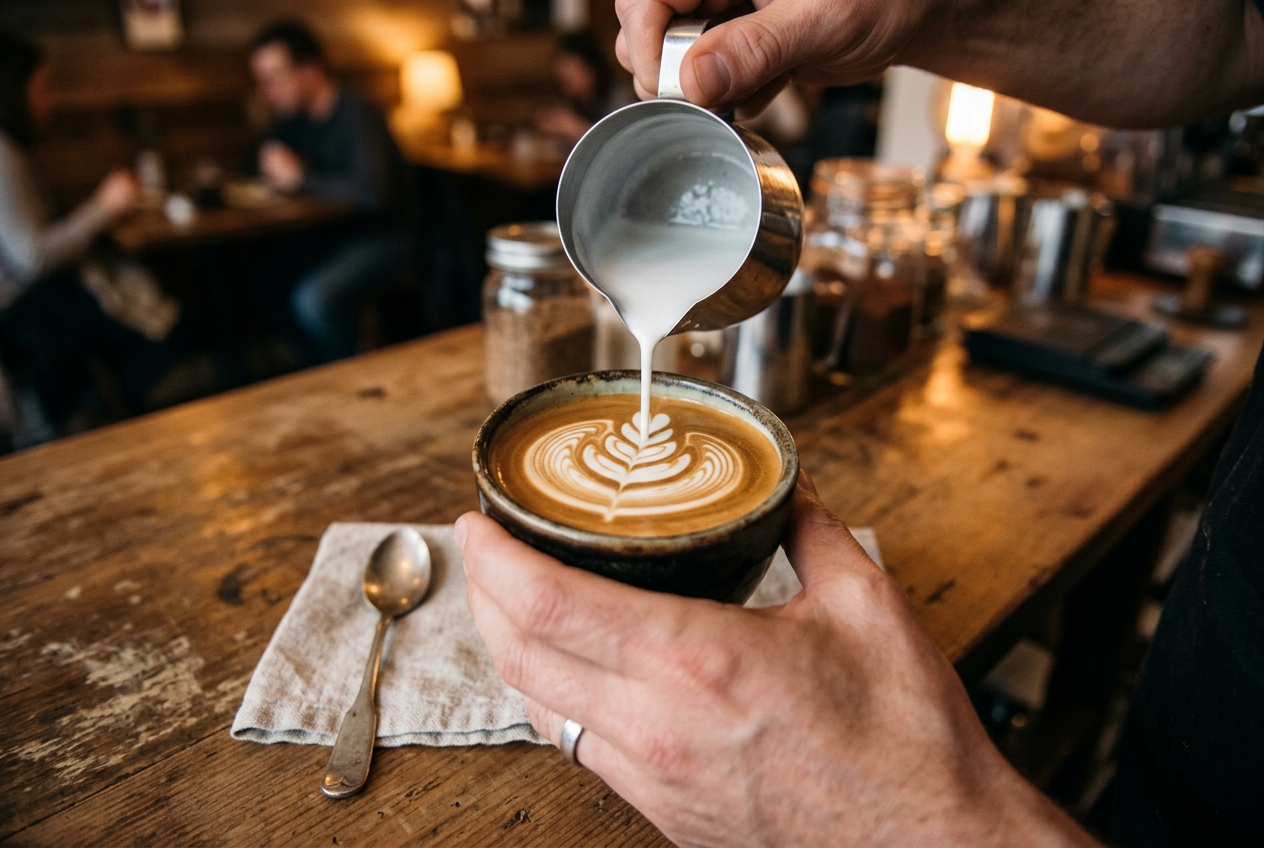
Once your milk is frothed and warm, give the container a swirl to fold the foam back into the liquid milk so it’s glossy rather than separated. Pour the liquid milk into your coffee first, holding the foam back with a spoon, then spoon the foam on top. For a cappuccino, go heavier on the foam; for a latte, more liquid milk and just a thin cap.
Your coffee base matters as much as the milk. Frothed milk sitting on weak, stale coffee still tastes weak — so brew strong. If you’re considering stepping up to real espresso later, our beginner espresso machine guide covers where to start, and if lattes are your main drink it’s worth reading how machines handle milk automatically versus doing it yourself. But there’s no rush: the four methods above will keep you in solid milk drinks with gear you already own.
Which method should I use?
- Best foam, no machine: French press.
- Zero extra gear: the jar shake.
- Cheapest worthwhile upgrade: a handheld frother.
- Improvising with the drawer: a whisk or hand mixer.
Start with whatever you have tonight. Warm milk, add air, swirl, pour — that’s the whole game, and none of it requires a steam wand.